
The kitchen is one of the areas in your house that should be sparkling clean. We visit there more than three times a day every day to fix ourselves meals. After we are done, we ought to clean any small spillages that may happen in the process and we have those satisfactory looks on our faces when we leave our kitchens. We think they are clean – which is partly true – but what about the hidden surfaces? When was the last time you cleaned the bottom of your kitchen sink or inside the drawers? This is why spring cleaning is very important, in this article we will go through some tips and tricks to help make your kitchen shine.
Spring Cleaning Guide for Your Kitchen
Most of us will agree that we get confused on where to start deep cleaning your kitchen. Though, when time, this exercise is a must if you want a healthy cooking environment.
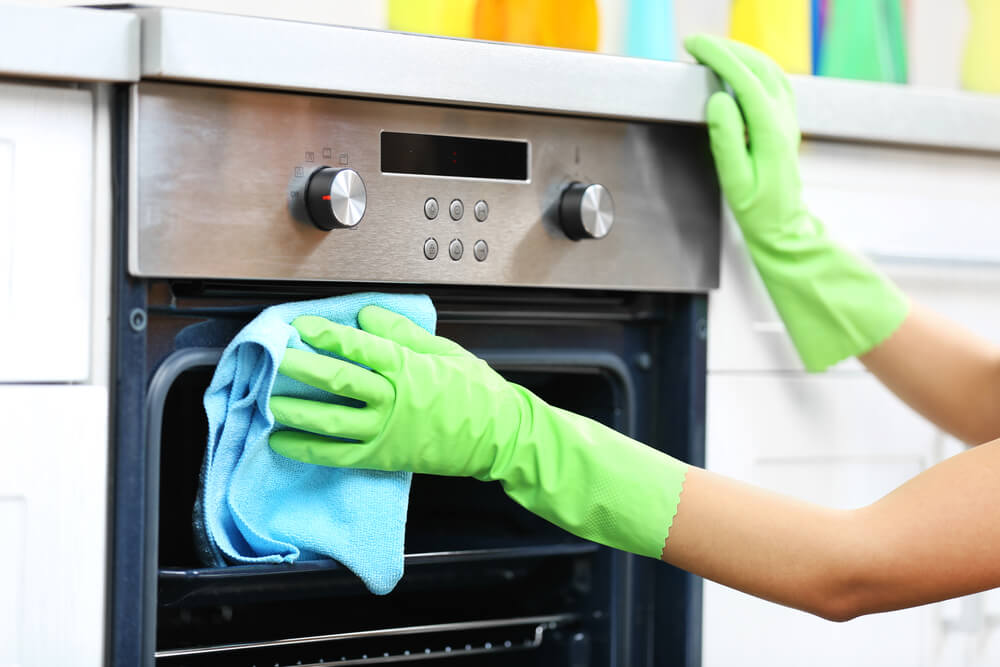
Cleaning your Kitchen appliances
These include big ones such as ovens, electric/gas cookers, refrigerators, and smaller appliances such as microwaves and coffee pots. Start with cleaning the small appliances then later clean the large ones. Use baking soda to get rid of any stubborn stains and sticky bits. These appliances have electrical cords/wires and they get dusty over time. Nobody seems to realize it until the day you decide to deep clean your kitchen. To clean these wires, unplug them from the sockets and wipe them up using a damp fiber cloth.
Clean the kitchen drawers
The kitchen drawers are one of the parts in our kitchens that are the most forgotten because we rarely use them for any other purpose apart from keeping and removing utensils. Deep cleaning, therefore, means you take out all the utensils, both clean and dirty (if any), remove any dirt present, then put the utensils back in. You may wash your utensils using soap and water and wipe them dry using a clean cloth. Utensils might look clean, but these too need to be cleaned up. In case you use shelf paper, replace it with a new one. The drawers should look much neater than before. Knobs and handles should be cleaned using a rough sponge, soap and hot water.
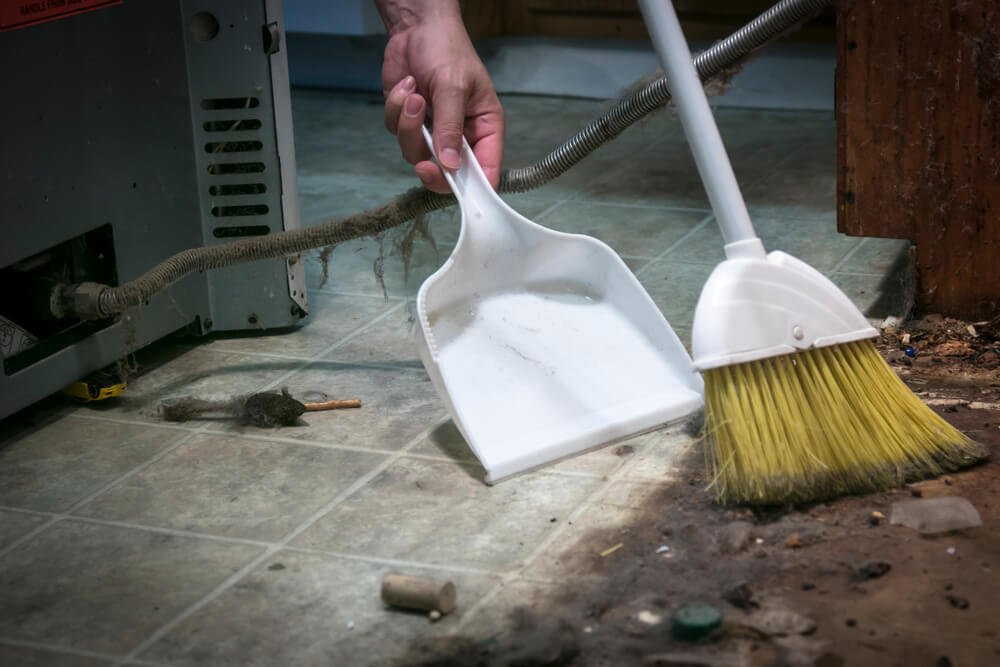
Mop up the floor
- Kitchen floors typically do not have to wait until spring to get cleaned up. It should be a routine. Anyway, its spring and it is time to deep clean your kitchen. Your floor will get messy in the process of deep cleaning your appliances and drawers. Afterwards, it’s time to mop the floor. Most houses have either hardwood floors or ceramic tile floors. For hardwood floors,
- Begin with sweeping up the dust and any debris that may be hiding in the corners and edges. Do it thoroughly to ensure no debris is left.
- Prepare the cleaning solution. Use 2 full cups of water, soap and essential oil which will be the ingredients of the cleansing agent. Mix them all in a spray bottle while making sure it is sealed. Give the bottle a firm and thorough shake to form a uniform cleansing solution.
- Perform an experiment on a small area to see possible results on the hardwood. You don’t want to damage your expensive hardwood floor, you know.
- Repeat the same in multiple areas/spots but with little water each. The spots should be about 1 square yard each. Use your spray bottle to release small squirts of the detergent followed by back and forth scrubbing and drying using a fiber mop. Both the scrubbing and drying movement should happen along your hardwood grains. Where your scrubber gets dirty, replace it or rinse it.
- Leave to dry for at least 30 minutes. This way you won’t bring in new dirt into the kitchen.
For ceramic/porcelain floors:
- Sweep the kitchen floor
- Prepare the cleaning reagents. They comprise of water and vinegar in a 1:1 ratio. Essential oil can also be included too. Unsealed floors need castile soap in place of vinegar.
- Experiment with a single spot to avoid damaging the entire floor.
- Scrub in bits using a fiber on the tiles and in between.
- Keep scrubbing in bits
- Empty the initial contents of the spray bottle and refill it with plain water.
- Wipe off any vinegar or soap using a damp but fresh fiber mop.
- Leave to dry for at least 30 minutes.
Kitchen sinks
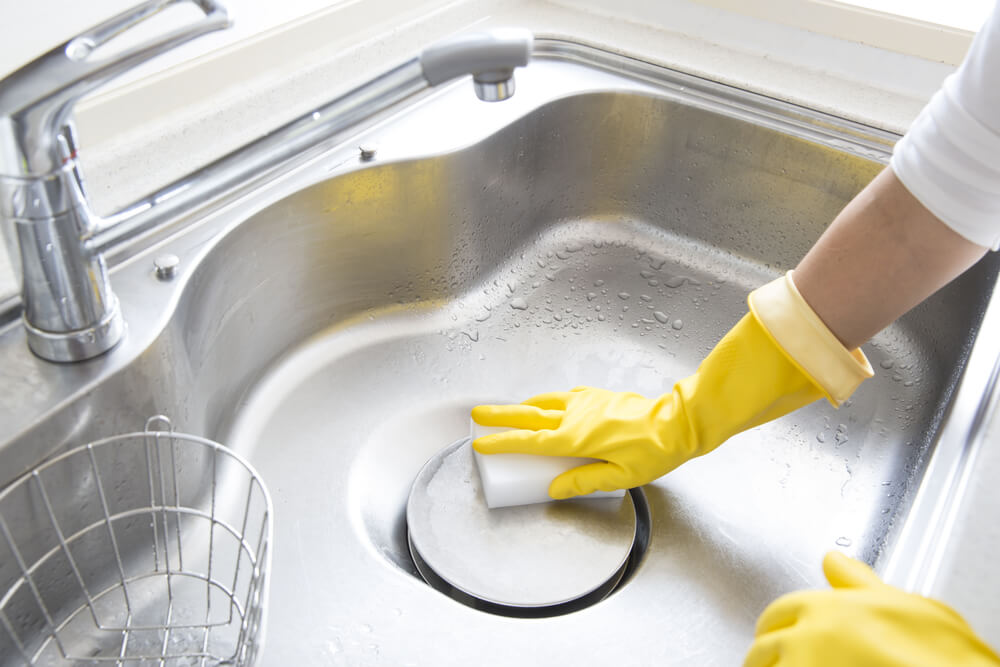
Crevices need to be cleaned using a sink brush and anything else that can reach those hidden spots.
Now that you have the spring-cleaning guide, you need a spring-cleaning checklist to help you get started with deep cleaning your kitchen. The list includes;
Pantry
Remove all contents and clean using warm soapy water and disinfectant. Afterwards, you may re-organize and restock.
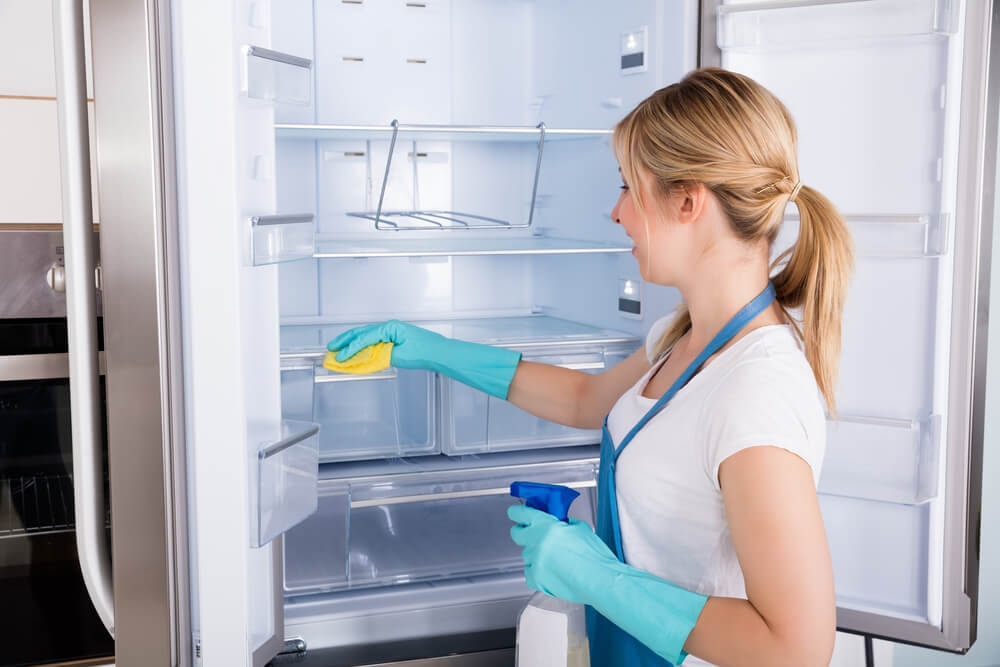
Refrigerator and freezer
Remove the food items from the shelves, use warm soapy water all over, and wipe the doors and handles. After drying, reorganize and restock.
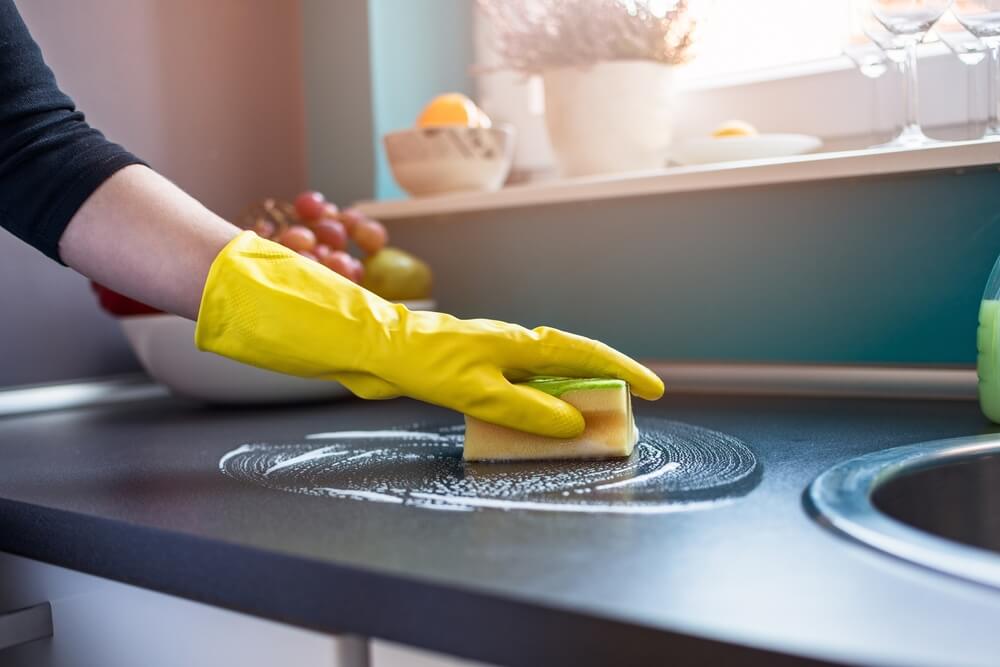
Sinks and counter tops
Clear the tops and wipe using a cloth and warm soapy water. Make sure you disinfect the drainage stoppers.
Small appliances

A good example is the microwave and coffeemaker. Use a damp cloth and warm soapy water to wash the turntable plate and wipe the entire front and the inside.
Large appliances
They include the oven, dishwasher and the refrigerator and freezer. For ovens, make sure all the grease is removed and the surfaces are clean. They can be configured to self-clean mode. For dishwashers, the inside should be free of food particles and detergent residue in the drainpipes and spin blades. Use baking soda to remove any foul smells at the bottom and run hot water in the morning.
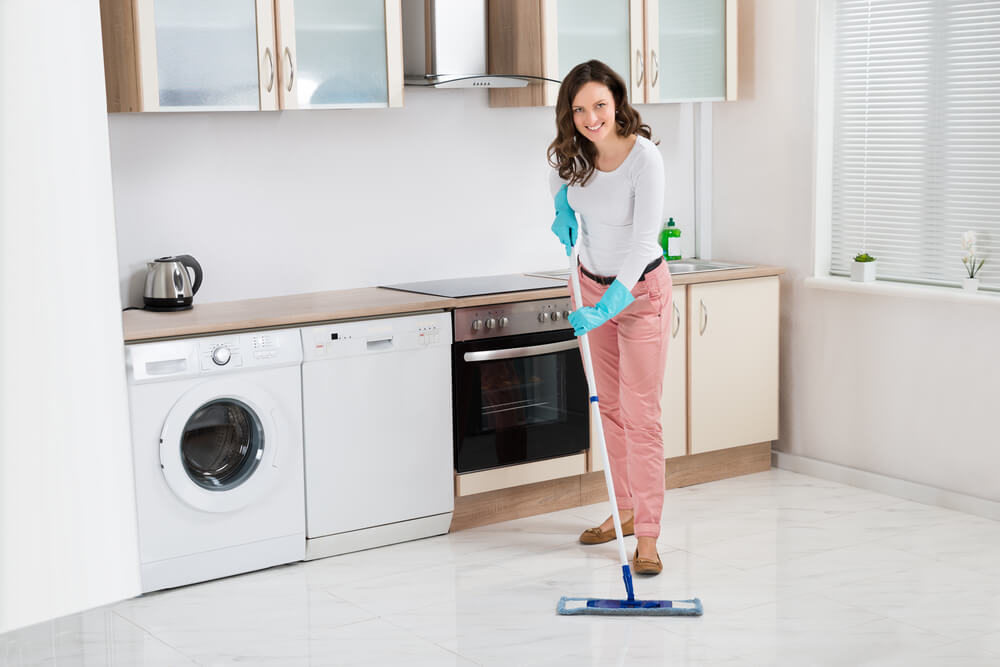
Floors
After thorough cleaning, wash the rugs and dry them out in the sun. You may also sweep or vacuum-clean the floor. Washing should be done using little amounts of cleansing solution. Make sure the floor surfaces beneath the large appliances are clean.
Deep cleaning your kitchen can be a very daunting task especially is it’s your first time. With both the spring-cleaning checklist and guide have been designed to make spring cleaning experience memorable for you. Happy spring cleaning!
1 thought on “Detailed Guide on Kitchen Spring Cleaning”